Manage Main Menu Items
EXPERIENCE MANAGEMENT > CONTENT
Main menu items are elements that are displayed in the navigation of your website. In Experience Management, we support 3 menu levels.
For example, you could have a navigation element named Shop by Department and have all the main departments listed. Under these main departments, you could also have sub-categories.
Adding a Main Menu Item
|
1.
|
Open the Content module. |
|
2.
|
Expand the tree structure root category. |
|
3.
|
Expand the Navigation folder. |
|
4.
|
Right-click the Header folder. |
|
5.
|
Select Add Main Menu Item. |

Editing a Main Menu Item
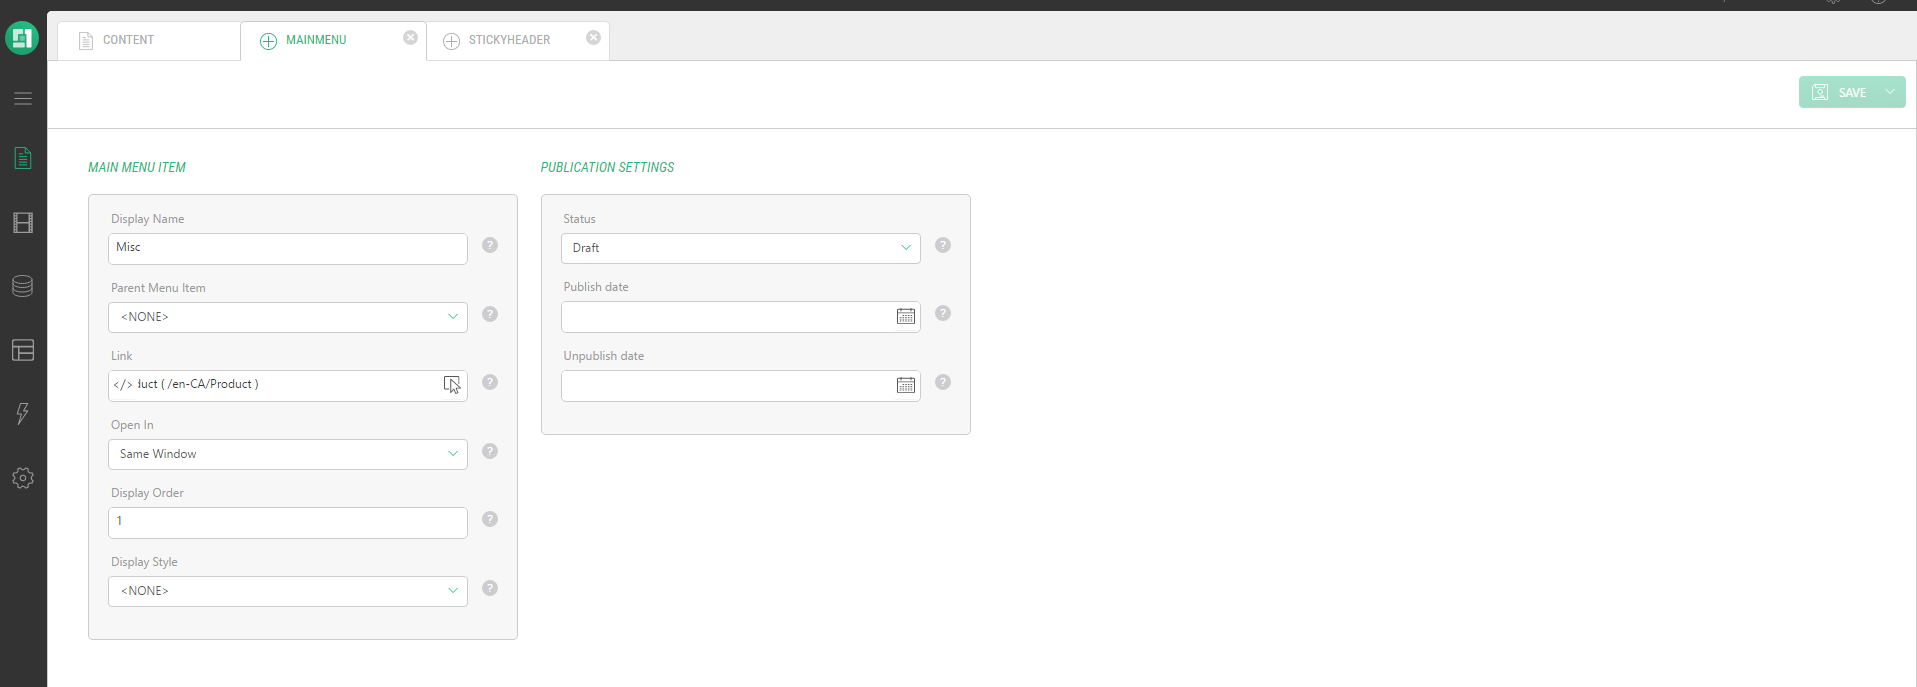
In the Main Menu Item section:
The Display Name must be short.
|
2.
|
Enter a Parent Menu Item, if required, to select the menu in which this new item should appear. |
|
3.
|
Click the link button to select a link. This action opens the tree view to select a page from the website structure. |
|
4.
|
Select an option in the Open In drop-down. |
|
5.
|
Enter a Display Order. |
|
6.
|
Select a Display Style. |
In the Publication Settings section:
|
7.
|
Select a Publication Status. By default, the status is set to Draft. |
|
8.
|
Select the Publish date and Unpublish date, if required. |
|
9.
|
Click Save or Save and Publish. |
Deleting a Main Menu Item
|
1.
|
Open the Content module. |
|
2.
|
Expand the tree structure root category. |
|
3.
|
Expand the Navigation folder. |
|
4.
|
Right-click the Main Menu Item you want to delete. |
|
6.
|
A confirmation message appears, click OK. |