In Visual Studio
If you want your Master Page to work as a standard Experience Management Page template, you should create it below ~/App_Data/PageTemplates.
It should be regular Master Page files (master and master.cs). However, it should also include some minimum code to become available in Experience Management as a page template; otherwise, it will not be treated as an Experience Management template and will only appear as a regular Master Page in "Shared Code" in the CMS Console.
C1 CMS Web Form extensions for Visual Studio
We recommend that you download and install CompositeC1WebFormExtensions.vsix, a Visual Studio 2012 extension that allows you to create boilerplate-code Master Page based templates directly via "Add new item …" in Visual Studio 2012.
Note: The current version of the extension works with Visual Studio 2012 only.
Creating Master Page templates in Visual Studio
To create a Master Page based template in Visual Studio:
- Make sure you've installed CompositeC1RazorExtensions.vsix (see above).
- Open Experience Management in Visual Studio and in Solution Explorer expand
(your website)/App_Data/PageTemplates. - Right-click the
PageTemplatesfolder and click "Add" / "Add New Item". - In the "Add New Item" window, select "C1 CMS Master Page Template".
- In the "Name" field, type in the name for your template and click "Add".
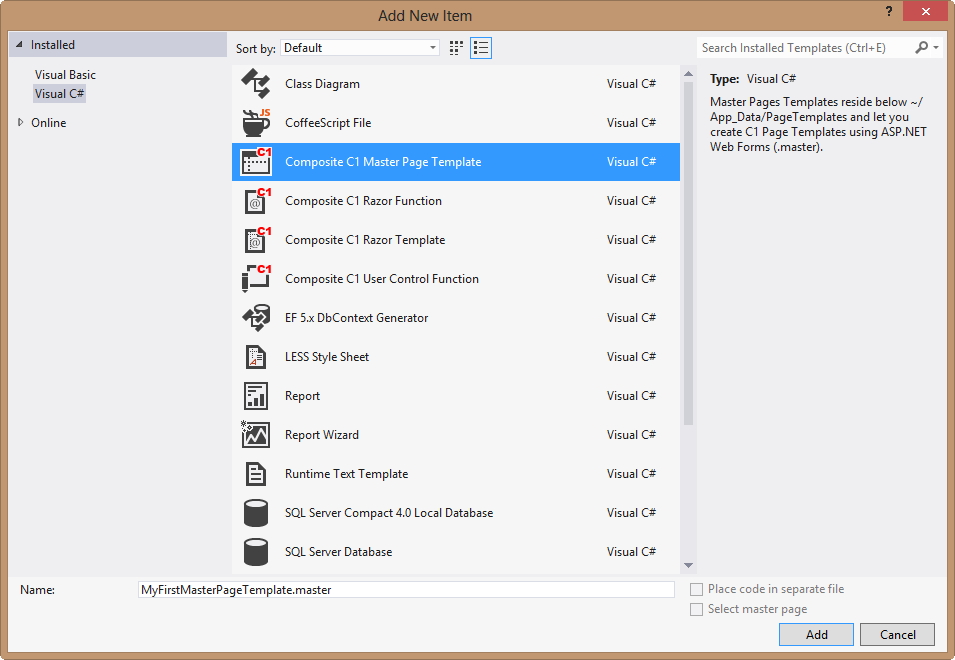
The new .master and .master.cs files will appear in the PageTemplates folder. These files will already include the boilerplate code/markup for an Experience Management Master Page template.
If you want to create a Master Page based template from scratch, see "Bare-Bones Master Page Template".