Creating Custom Roles
You may need to create custom roles to match the unique combinations of responsibilities certain jobs in your organization have. With this tool in the Settings application, you're able to combine various roles into one tailored role that you can then apply to as many users as you need.
| 1. | The first step in creating a custom role is to the Custom Roles section of the Settings application and clicking Add Custom Role in the top-right corner of the page. |
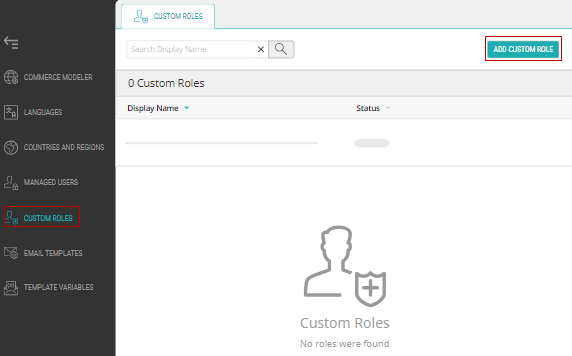
Figure 1 - Settings, the Custom Roles tab
| 2. | Once you do this, you'll be brought to a new tab in the application where you must input the Role Name and can optionally include a Display Name and Description in whatever languages you support. Finally, click Save. |
Warning: You cannot rename a custom role after you make it.
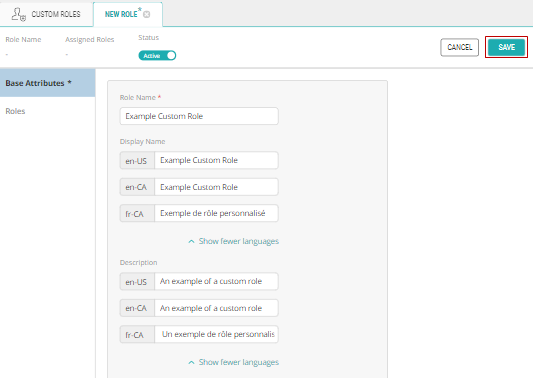
Figure 2 - Settings, New Custom Role page
| 3. | Once you've filled out the Base Attributes, select the Roles section where you'll then click on Manage Roles in the top-right. |
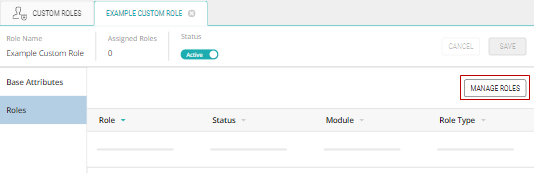
Figure 3 - Managing a Custom Role
| 4. | In this window you can select the combination of roles you'd like under the relevant scope and then click Add before Applying Changes in the bottom-right of the window. Click Save. |
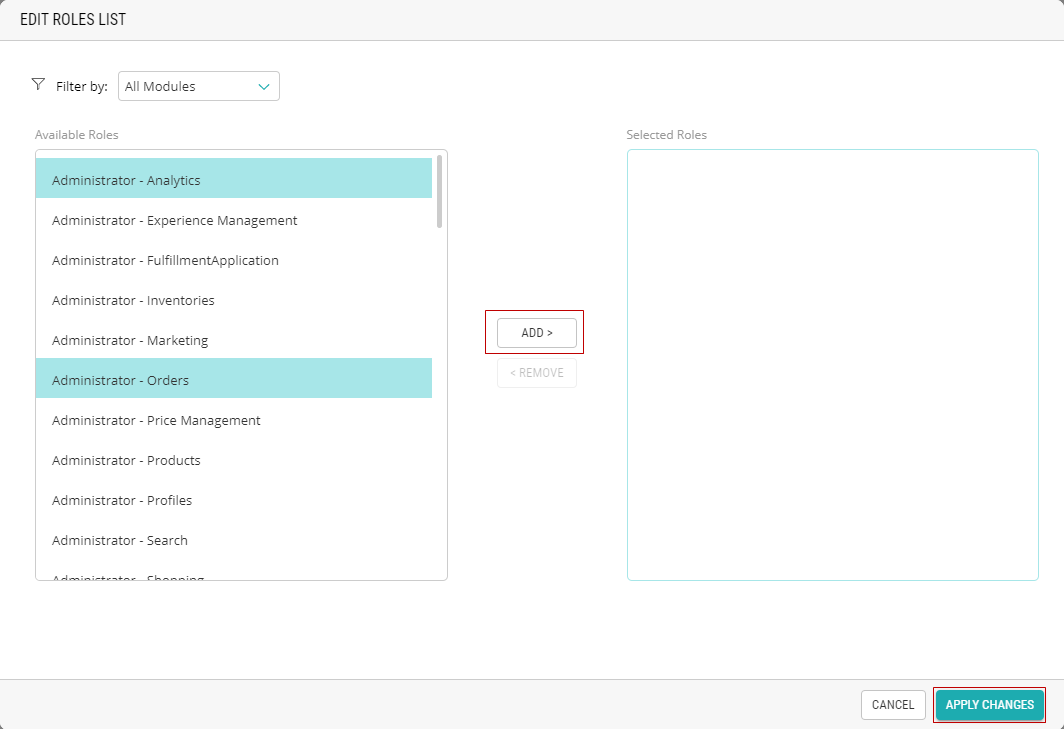
Figure 4 - Editing a Roles List
References:
| • | Viewing Custom Roles |
| • | Modifying Custom Roles |