Creating Users
Creating a user for any of the Orckestra Commerce Cloud applications is done in the Settings application. Once created, you will assign either existing or custom defined permissions and roles as needed.
To create a user in the Settings application, first go to the Managed Users section found on the left in the application.
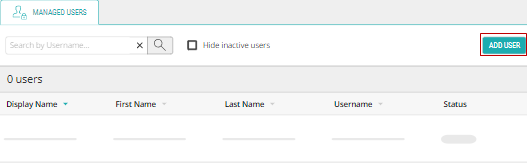
Figure 1 - The Managed Users tab
Best practice: Before adding a user, ensure they do not exist in the platform. Perform a search before creating it.
Here you'll find the Add User button in the top-right of the page. Once you click on this you'll be brought to a new tab in the application where you're able to fill out the profile information and the password before saving in the top-right corner.
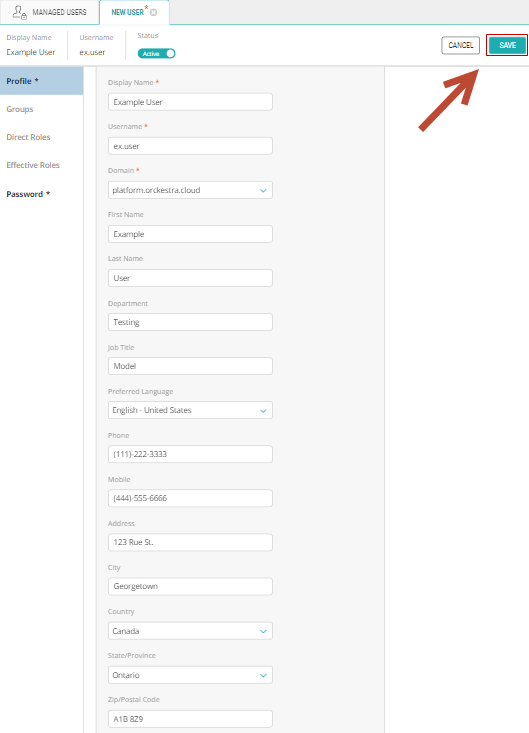
Figure 2 - A New User tab
Important: You must create a Display Name, Username, Password, Department which will be the locations that the user is working at, and select a Domain to be able to save the new profile. All other user information you can add is optional and you can save without it.
Assigning User Roles and Permissions
Creating Users For The Mobile Store Fulfillment
Separate from the other applications, users for the Mobile Store Fulfillment are created within that application.
The Mobile Store Fulfillment application requires users to hold one of two distinct roles:
| • | Picker |
| • | Administrator |
For each user, you will need to indicate the stores to which a user has access. Most users (pickers for example) will only need access to one store. Administrators and some pickers might need to have access to multiple stores. All stores must be added manually.
When a store is added to the platform, it must also be added into each user's profile if they are to access it in MSF.
| 1. | Locate the user profile you wish to edit and double-click it. |
The Users Details panel opens.
| 2. | In the Profile tab, under Department, enter the stores required for that user. If there is more than one store, separate each store identifier with a semi-colon (;). |
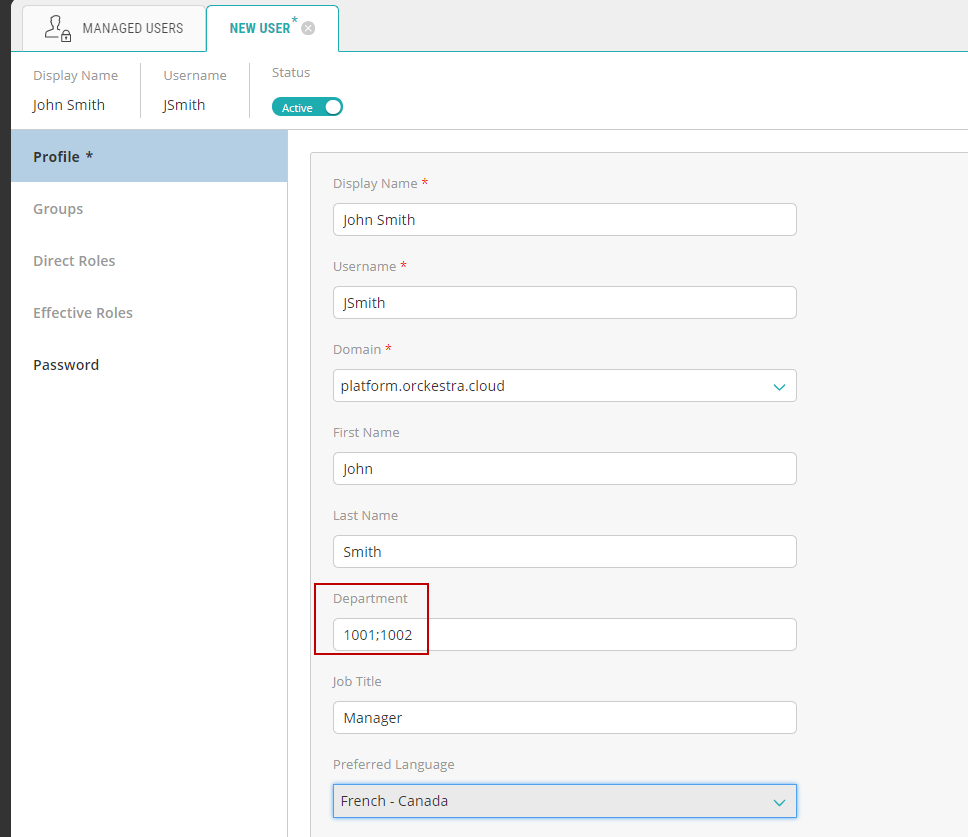
Figure 3 - MSF user store defined
Store identifiers are found in the list of fulfillment locations.
Adding a * in the Department field will grant access to all the stores, even the ones that do not ship items.
| 3. | Click Save. |
Important: You must also assign the user to the appropriate location(s) that they work at or they'll be unable to perform their jobs.
REFERENCES
| • | Viewing Users |
| • | Modifying Users |