Creating Customers Accounts
ORDER MANAGEMENT > CUSTOMERS
Customers exist within the customer database. Each customer record is made up of system default account values such as email, first and last name, contact information, etc. The account template is customized and specified by the Orchestration Consoleadministrator. Customers can create their account while registering online but you can also create accounts for them.
Note: In previous versions of Orckestra Commerce Cloud, email addresses were used as unique identifiers. In some business cases, a user can have multiple accounts bound to Dependent Scopes. It's now possible to create multiple accounts using the same email. Before creating an account, be sure to search if the account already exists .For more information, see Searching and Filtering Customers

Figure 1 - Customer account search filters
|
1.
|
To create a customer, click Create Customer (appears at top-right of the Customer tab). |
|
2.
|
The Customer Information dialog box appears. |
|
a.
|
Enter the customer's First Name |
|
b.
|
Enter the customer's Last Name |
|
c.
|
Enter the customer's Email Address |
|
d.
|
Enter the customer's Phone |
Tip: Mandatory fields are identified with a red asterisk *.
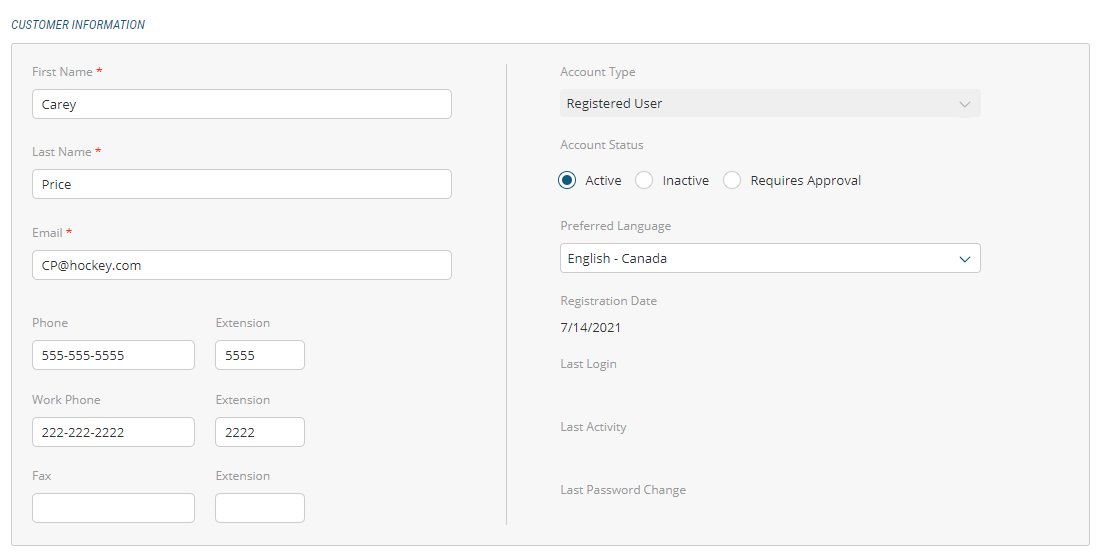
Figure 2 - Customer Information dialog box
|
3.
|
Be sure to click the Active button at the right of the screen, otherwise the customer will not be able to use their credentials to log into their account. |
|
4.
|
Select customer's Preferred Language from the language menu. |
Result: the customer account is created in Orckestra Commerce Cloud and an order can be placed.. You can also create a customer account while creating an order. For more information, see Creating Customers in a New Order
Best Practice: While discussing with customers, fill out as many fields as possible in order to obtain as precise a customer profile as possible. For more information, see Modifying Customers and Managing a customer's addresses
Setting the customer's password
Once an account has been created with Registered User as an account type, you will need to define the password reset settings so that the customer can log onto the transactional website.
|
1.
|
At the top-right of the screen, click Reset Password.
|

Figure 3 - Reset Password button
|
2.
|
Confirmation dialog box appears, click Yes. |
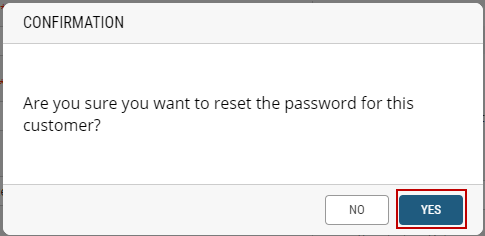
Figure 4 - Reset password confirmation message
This will trigger a platform activity and send an email message to the email address specified in the customer account.
Tip: While talking to the customer, recommend that they check their spam folder for the email reset confirmation. From there they will click the link to reset their password.
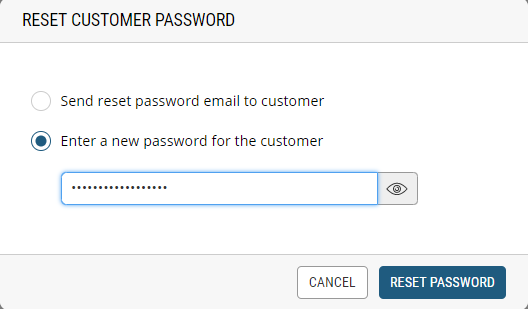
When Allow Manual entry is enabled in the Orders Settings, you can also enter a manual password on the customer's behalf.
Important: The password you enter must match the platform security requirements. By default, password should include a capital letter, a number and a special character.
|
1.
|
At the top-right of the screen, click Reset Password. |
|
2.
|
Select Enter a new password for the customer. |
Completing the customer's information
Additionally, you can:
|
•
|
personalize the customer's account by adding preferences in the Custom Attributes tab |
|
•
|
add, modify or delete an address from the customer's address book |
|
•
|
add, modify or delete an organization from the customer's account |
|
•
|
set the customer's store preferences |
|
•
|
view and copy existing orders |
|
•
|
view the customer's active carts |
|
•
|
view and delete saved payment information |
For more information about completing the customer's information, see Modifying Customers
REFERENCES