Creating Profiles
There are many reasons for you to create a profile in the Order Management application of the Orckestra Commerce Cloud platform. The first step in creating any profile is to understand their place(s) in the framework of the platform, the About Profiles section is a useful way to learn about all the possibilities that are unlocked with profiles.
Important: Keep in mind the differences between the two types of Custom Profiles. Shared profiles can be thought of as a profile that can exist independent of any other profiles or be linked to others. Additionally, when associating this type of Custom Profile with another profile, the link created is a reference, meaning multiple instances of the relationships point to the same Shared Custom Profile. Opposite this is an Embedded profile which always requires the existence of a single parent. You must modify an existing Profile Definition (Predefined or Custom) and create an attribute that links to this Embedded Custom Profile. Therefore, operations done on an Embedded Custom Profile can only be done by manipulating its parent.
Creating a Custom Profile
To create a new custom profile enter the Settings portion of the Order Management application. Here you will create the Custom Profile and add the specific Custom Attributes that you require.
Important: When you create a Custom Profile its Name and type (Embedded or Shared) is final and cannot be changed after you save it.
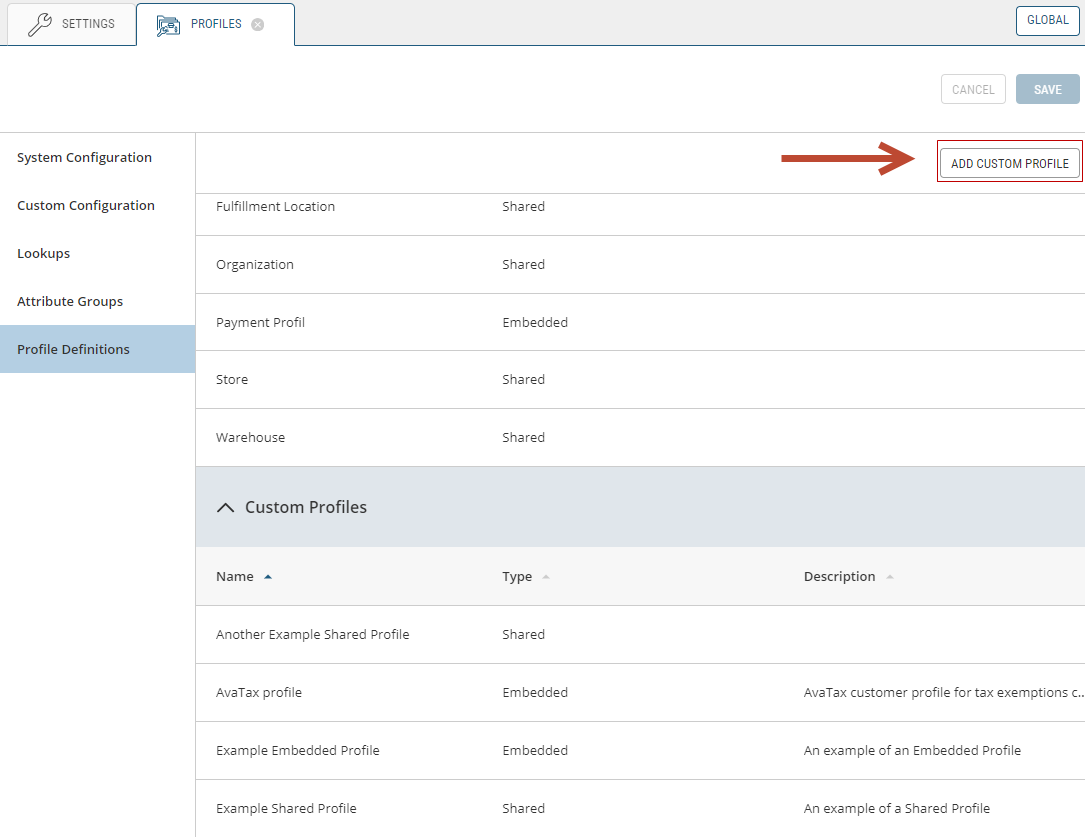
Figure 1 - To create a Custom Attribute, click this button in the Profile Definitions tab
| 1. | Click Add Custom Profile. |
| 2. | Enter the unique identifier. |
| 3. | Click Save. |
Creating Profile Custom Attributes
You can add custom attributes to a Base or Custom Profile in the Settings module of the Order Management application. To do this, you must select the Profile you wish to add a Custom Attribute to. In the expanded information tab of your intended Profile, you will then enter the Custom Attributes section from the left of the page.
| 1. | Once here you can add a custom attribute by clicking the Add Custom Attribute button which will cause a new attribute window to pop up. |
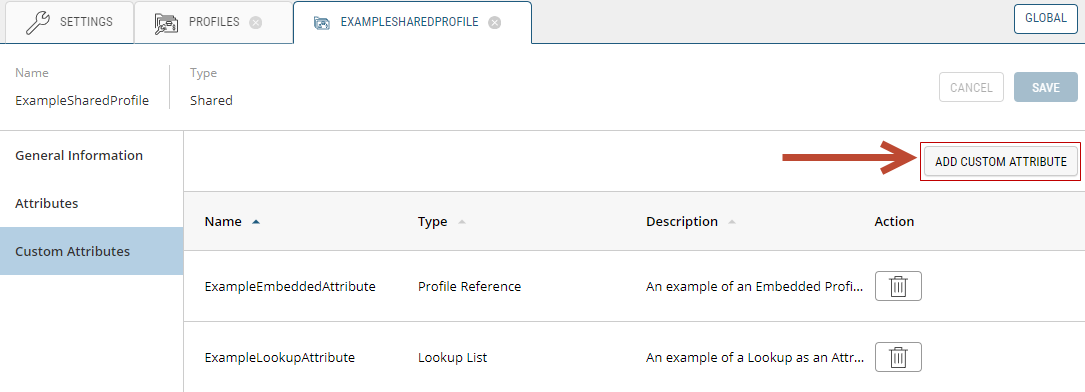
Figure 2 - Clicking here allows you to create a new Custom Attribute
| 2. | In this window you can define a Custom Attribute's Name, Description, Display Name(s), Attribute Groups, Attribute Category and Type. |
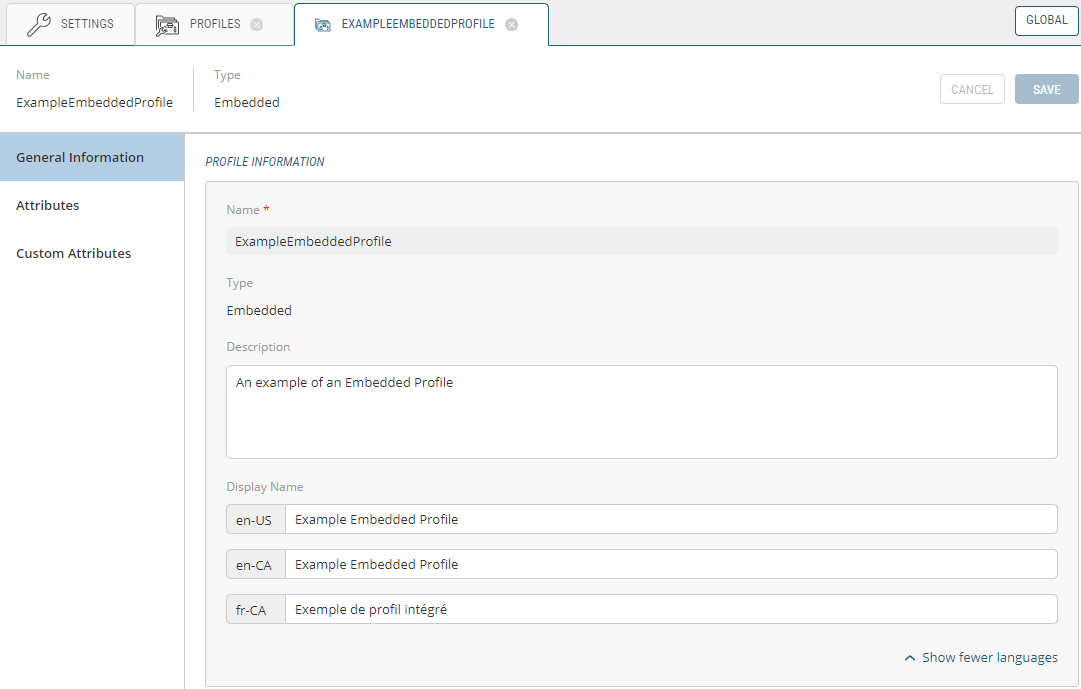
Figure 3 - A new Custom Profile
| 3. | Go to the Profiles module of the Order Management application to create the instances of this Custom Profile framework to use in the rest of the Orckestra Commerce Cloud platform. |
Creating Profile Instances
Go to the Profiles module to select the type of Profile you'd like to create an instance of, then click Create Profile. This will open a new instance that you can fill out before clicking Save.
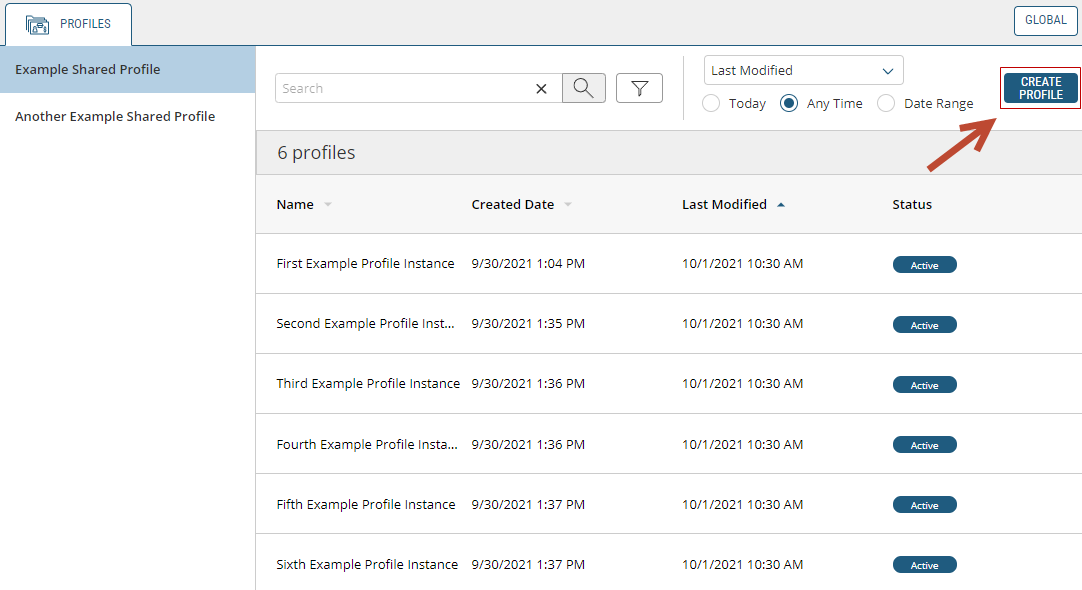
Figure 4 - To create a Profile instance, click the CREATE PROFILE button
REFERENCES
| • | About Profiles |
| • | Modifying Profiles |
| • | Managing Profiles |
| • | Linking Profiles |